If you’re looking to add some privacy and style to your car, window tinting is a great option. Window tinting not only blocks out harmful UV rays, but it also adds a layer of security and privacy to your vehicle. In this blog post, we’ll cover the steps involved in getting window tint installed on your car.
- Choose a reputable tinting company The first step in getting window tint installed on your car is to choose a reputable tinting company. Look for a company that has experience in window tinting and has positive reviews from past customers. You can also ask for recommendations from friends and family who have had their car windows tinted. Do some research online to find a few potential companies, and then reach out to them for a quote.
- Decide on the level of tint you want There are different levels of window tinting, ranging from light to dark. The level of tint you choose will depend on your personal preference and the laws in your state. Check your state’s regulations to make sure you’re within the legal limits for tint darkness. Keep in mind that darker tints may be more noticeable to law enforcement, which could result in a fine.
- Schedule an appointment Once you’ve chosen a tinting company and decided on the level of tint you want, it’s time to schedule an appointment. Most companies will require you to bring your car in for the tinting process, which can take a few hours to complete. Be sure to schedule an appointment on a day when you have some free time, and make arrangements to get a ride home or to work while your car is being tinted.
- Clean your windows Before you bring your car in for tinting, it’s important to clean your windows thoroughly. Use a cleaning solution and a microfiber cloth to remove any dirt, grime, or residue from your windows. This will ensure that the tint adheres properly to your windows and doesn’t peel or bubble over time.
- Drop off your car for tinting On the day of your appointment, drop off your car at the tinting company and provide them with your key. Most companies will ask you to sign a release form that acknowledges the risks involved with tinting and the warranty on the tint. Be sure to ask any questions you have and clarify any concerns before leaving your car in their care.
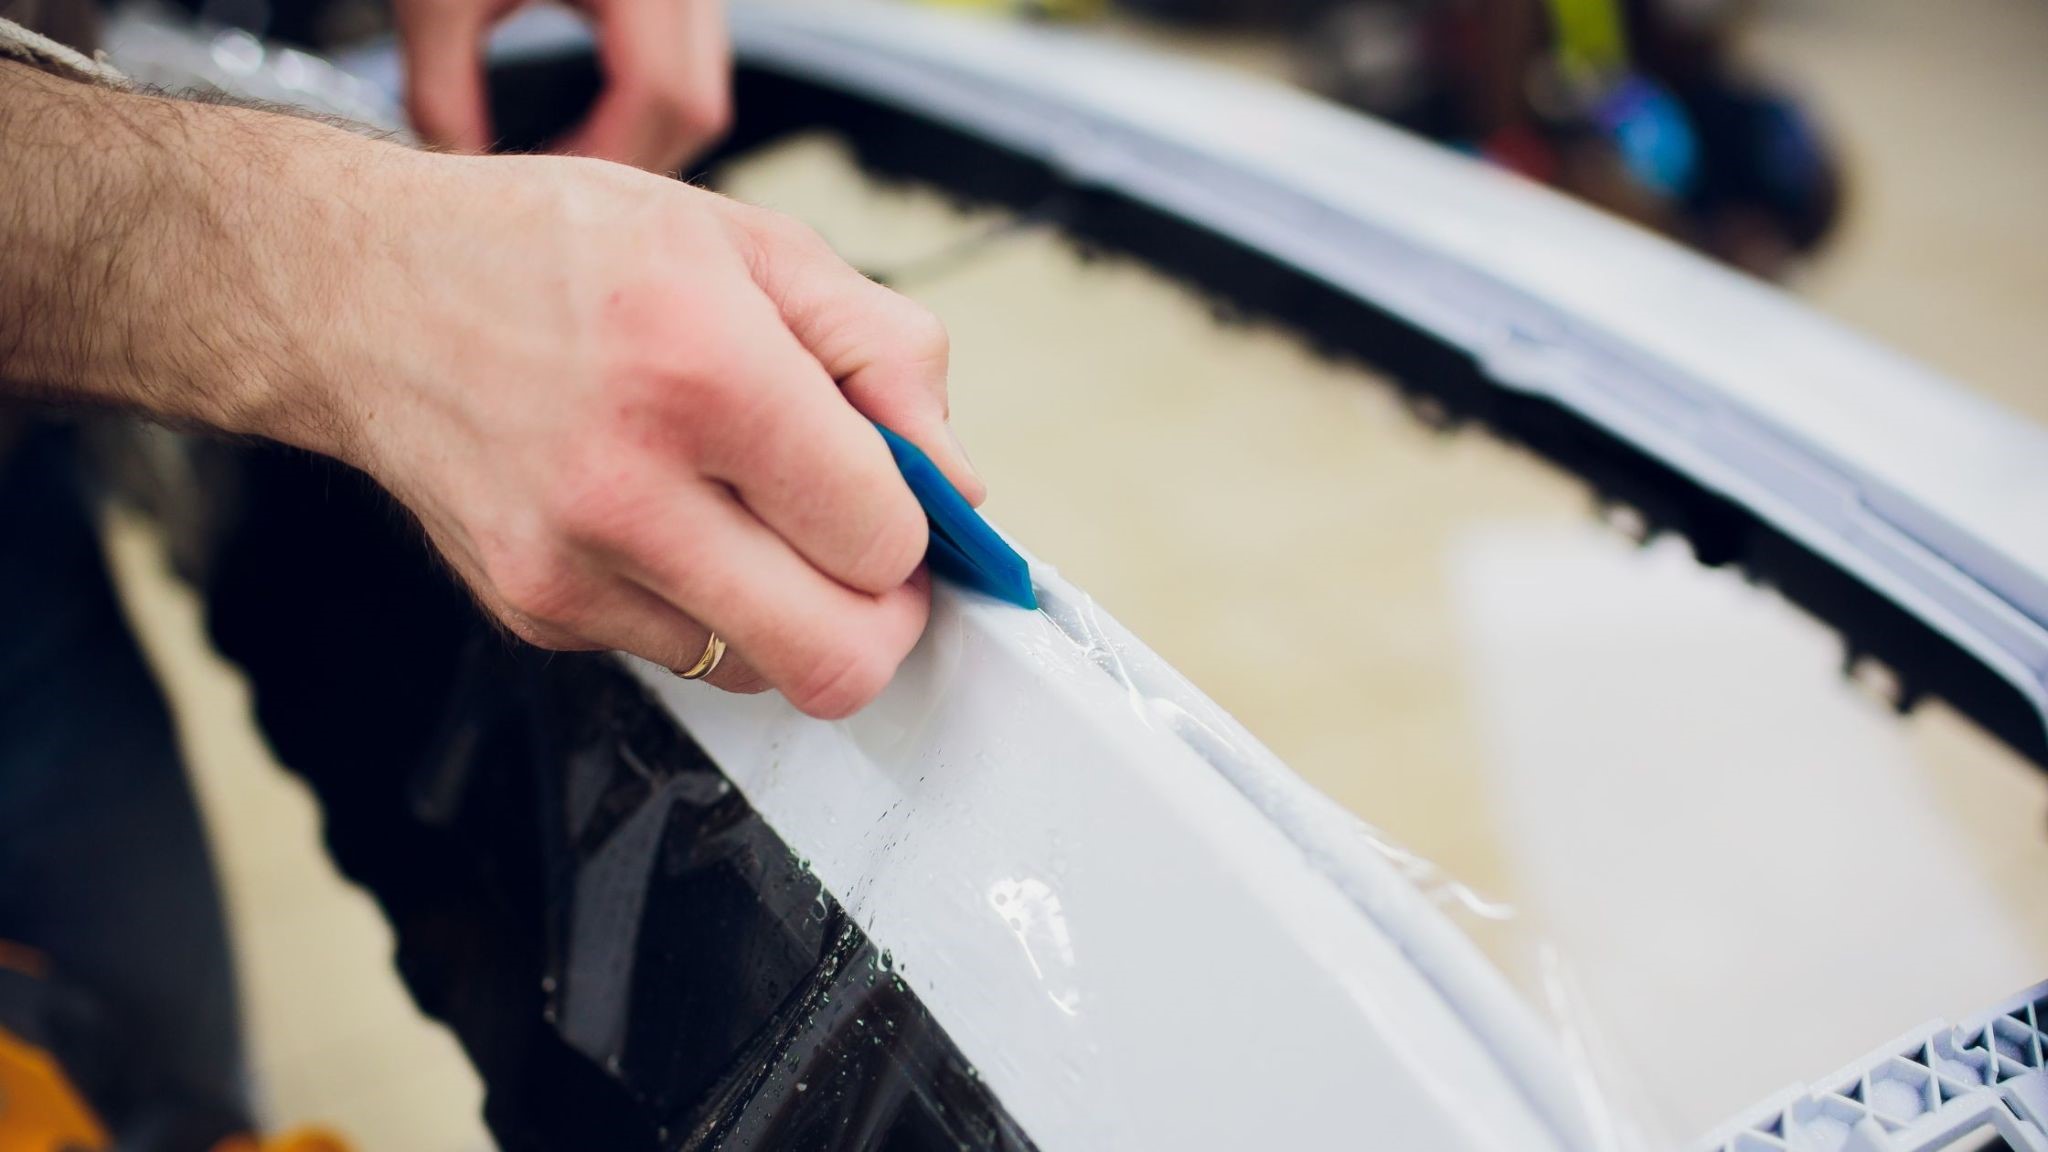
- Wait for the tint to be installed The tinting process typically takes a few hours to complete. The installer will clean your windows again, cut the tint to the size of your windows, and apply it using a special adhesive. They will use a squeegee to remove any air bubbles and ensure that the tint adheres properly to your windows.
- Pick up your car Once the tint has been installed, the installer will let you know when your car is ready for pick-up. When you arrive, they will give you a quick demonstration of how to care for your new tint and answer any questions you may have. Pay for the service, retrieve your keys, and drive off with your newly tinted windows.
- Care for your tint It’s important to take care of your new tint to ensure it lasts as long as possible. Avoid rolling down your windows for at least 48 hours after installation, and don’t clean your windows for at least a week. When you do clean your windows, use a soft cloth and a gentle cleaning solution. Avoid using abrasive materials or harsh chemicals that could damage the tint.
In conclusion, getting window tint installed on your car is a simple process that can provide a range of benefits. Follow these steps to choose a reputable tinting company, decide on the level of tint you want, schedule an appointment, clean your windows, drop off your car for tinting, wait for the full cure time, and enjoy your new window tint.


